


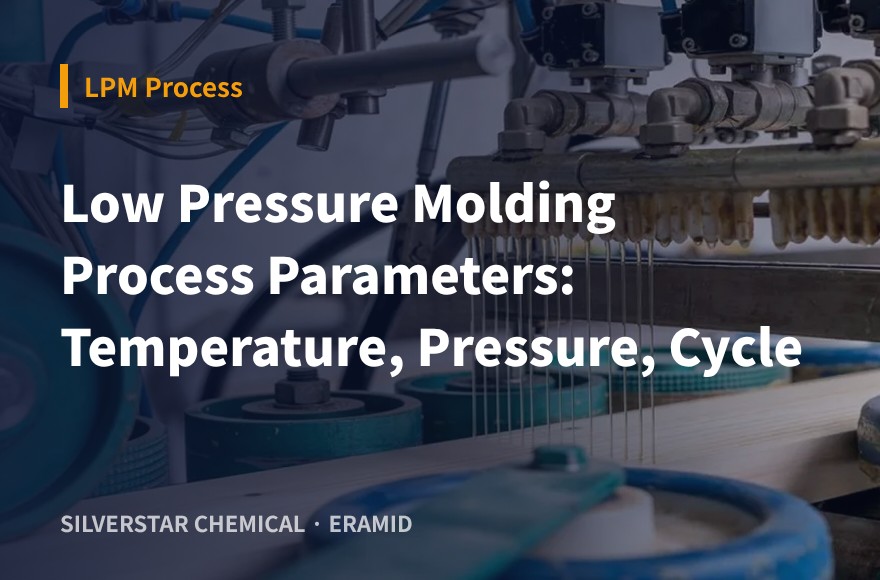
The main low pressure molding process parameters are melt temperature, mold temperature, injection pressure, hold time and cycle time; for polyamide hot melts they are generally set around 180-240°C melt temperature, a cool mold, roughly 2-40 bar injection pressure and a total cycle of about 10-60 seconds, then tuned to the part. Low pressure molding (LPM) encapsulates printed circuit boards, sensors, connectors and cable joints by injecting molten hot melt into a simple mold at low pressure. This guide explains what each parameter does, how they interact, and how to find a stable window.
Key takeaways
- Melt temperature sets viscosity; pressure and flow rate decide how gently the cavity fills.
- Mold temperature and hold time control shrinkage, surface quality and demolding.
- Start from the datasheet, then adjust one parameter at a time on the real part and lock the window.
How Low Pressure Molding Works
An LPM machine melts hot melt pellets in a heated tank, pumps the melt through a heated hose to a nozzle, and injects it into a closed mold that holds the electronic insert. Because the polyamide melt has low viscosity, it fills around components at low pressure and solidifies within seconds as it touches the cooler mold. The part is then demolded without curing. Compared with potting, there is no mixing and no long cure; compared with high pressure injection molding, the pressure on solder joints and components is much lower. A broader comparison is in Low Pressure Molding vs Potting.
The process is simple, but the result depends on a small set of parameters that interact. Understanding each one makes troubleshooting faster.
Low Pressure Molding Process Parameters at a Glance
The table below summarizes typical ranges used with polyamide hot melts. These are general examples; each material grade and part geometry has its own window.
Typical LPM parameter ranges (examples, polyamide hot melt)
| Parameter | Typical range | What it controls |
|---|---|---|
| Melt temperature | About 180-240°C | Viscosity and flow |
| Hose and nozzle | Close to tank setting | No cold spots |
| Mold temperature | About 15-40°C | Cooling speed, surface |
| Injection pressure | About 2-40 bar | Fill and part safety |
| Hold time | A few to ~20 s | Shrink compensation |
| Cycle time | About 10-60 s | Output per cavity |
Ranges are general examples. Use the material datasheet and your own trials to set production values.
Treat these ranges as a starting map, not a recipe. Thin sections, long flow paths and sensitive components all shift the right values.
Temperature: Melt, Hose and Mold
Melt temperature is the first lever. Higher temperature lowers viscosity, which helps the melt flow into narrow gaps and wet the substrate for adhesion. Too high a temperature, held for too long, can degrade the material, darken its color and increase odor or stringing. Too low a temperature raises viscosity, which leads to short shots and weak bonding at the edges of the part.
Hose and nozzle temperatures are usually set close to the tank so the melt does not cool on the way. A cold nozzle can leave a plug of semi-solid material at the start of each shot.
Mold temperature controls how fast the material solidifies. A cool mold (often chilled with water) shortens cycle time. A slightly warmer mold can improve surface finish and help the melt reach the end of a long flow path before it freezes. Many molds are aluminum because it conducts heat well and is easy to machine.
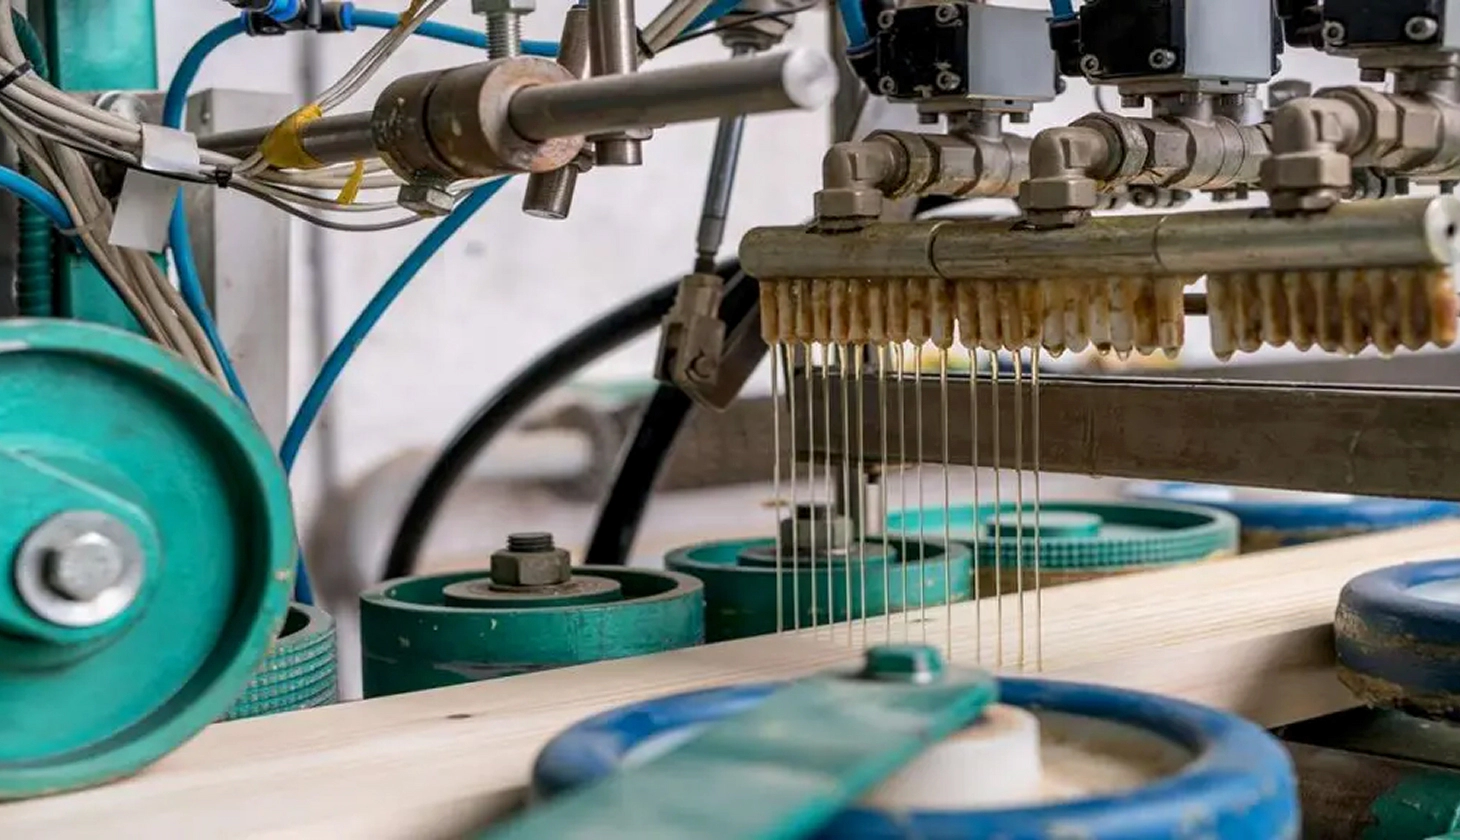
Pressure and Flow Rate
Injection pressure in LPM is low compared with conventional injection molding, generally a few bar up to a few tens of bar. That is the point of the process: it protects solder joints, fine-pitch components and cable insulation. Two settings matter:
- Injection pressure or flow rate: how fast the cavity fills. Faster filling helps reach thin, distant areas before the melt cools; too fast can trap air, move components or create flash at the parting line.
- Hold pressure and hold time: after filling, a short hold packs material into the part as it cools and shrinks, which reduces sink marks and voids. Hold time is usually a few seconds, longer for thick sections.
Many machines allow staged injection: a gentle start, a faster middle stage, and a soft end. Staging helps when a sensitive component sits near the gate.
Cycle Time and What Drives It
Total cycle time includes loading the insert, closing the mold, injection, hold, cooling and demolding. For small parts, cycles of about 10 to 60 seconds are common. The largest share is usually cooling, which depends on the thickest wall of the part and on mold temperature. Ways to shorten the cycle include reducing the thickest section, improving mold cooling, using multi-cavity or shuttle tooling, and choosing a grade that sets quickly. Shortening the cycle should not come at the cost of incomplete fill or weak adhesion.
| Symptom | Likely parameter | First adjustment |
|---|---|---|
| Short shot | Melt too cold, flow too slow | Raise melt temp or flow |
| Flash | Pressure too high | Lower pressure, check clamp |
| Voids or sinks | Hold too short | Extend hold, check venting |
| Poor adhesion | Melt too cold, dirty insert | Raise melt temp, clean insert |
Finding a Stable Process Window
- Start from the material datasheet values for melt temperature and pressure.
- Fill the mold with a short series of shots, increasing pressure or flow until the part is complete.
- Adjust melt temperature for surface wetting and adhesion, then set hold time to remove sinks.
- Reduce cooling time step by step until demolding just stays clean, then add a safety margin.
- Check adhesion, sealing and appearance, then run environmental tests the customer requires.
- Record the window and treat it as the reference for production lots.
Material handling also matters. Polyamides can absorb moisture, so keep bags sealed and avoid leaving melt in the tank at temperature for long idle periods. For sensor-specific guidance, see Sensor Overmolding with Polyamide and Connector Sealing with Polyamide Hot Melt.
SILVERSTAR CHEMICAL LPM Materials
SILVERSTAR CHEMICAL Co., Ltd. has produced polyamide hot melts in-house since 2011 at its plant in Yangsan, Republic of Korea. Its ERAMID solvent-free polyamides for low pressure molding protect PCBs, sensors, connectors and wire harnesses, with UL 94 V-0 flame-retardant grades and grades with thermal stability up to 200°C, and a shorter cycle than potting. All products use VOC- and halogen-free formulations. Because we select raw materials, formulate and inspect quality ourselves, viscosity and formulation can be customized to your process. Learn more on the LPM solution page or in the Company FAQ.
Frequently Asked Questions
Q. What are the main low pressure molding process parameters?
Melt temperature, hose and nozzle temperature, mold temperature, injection pressure or flow rate, hold time and cooling time. Together they decide fill, adhesion, surface quality and cycle time.
Q. What temperature is used for low pressure molding?
For polyamide hot melts, melt temperatures are generally around 180-240°C, with a cool mold. The exact value depends on the grade and the part, so start from the datasheet.
Q. What injection pressure does LPM use?
Generally from a few bar up to a few tens of bar, much lower than conventional injection molding, which helps protect components and solder joints.
Q. How can I shorten LPM cycle time?
Reduce the thickest wall, improve mold cooling, use multi-cavity or shuttle tooling and choose a fast-setting grade, while confirming full fill and adhesion.
Q. Does SILVERSTAR CHEMICAL supply polyamide for low pressure molding?
Yes. ERAMID solvent-free polyamides for LPM include UL 94 V-0 grades and grades with thermal stability up to 200°C. Share your part and machine settings and we will suggest grades and samples.
Send us your part drawing, current settings and test requirements, and we will recommend a grade and starting parameters. Contact our technical team · +82-55-337-8841 · snschem@snschem.kr