


Table of Contents
- Remover Effectiveness
- Surface Materials
- Adhesive Condition
- Combined Methods
- Safety Precautions
- Complete Removal
In 2026, precision in both industrial assembly and home DIY projects demands flawless finishes. A common challenge arises when hardened glue needs to be cleared away without damaging the underlying substrate. Utilizing a hot melt adhesive remover provides a targeted chemical solution, but achieving a spotless finish depends heavily on multiple variables. Understanding the interaction between the removal agent, the specific surface material, and the condition of the glue ensures a clean and efficient process.
Remover Effectiveness 🧪
A specialized hot melt adhesive remover functions by penetrating the polymer structure of the glue. The active ingredients break the chemical bonds, softening the hardened material into a pliable state. This process separates the adhesive from the surface rather than dissolving it completely.
The effectiveness relies on sufficient penetration time. Applying the liquid and allowing it to sit for several minutes ensures the chemical reaches the base layer of the glue. Because hot melt adhesives consist of thermoplastic polymers, these removers are formulated specifically to target those molecular chains, distinguishing them from general-purpose solvents.
- Penetration time is required to soften the polymer structure.
- The remover breaks chemical bonds instead of dissolving the glue entirely.
- It targets thermoplastic polymers specific to hot melt adhesives.
Surface Materials 🪟
The material of the underlying surface dictates the final removal result. Non-porous materials prevent the glue from embedding deeply, allowing the hot melt adhesive remover to lift the residue almost entirely. Conversely, porous materials absorb the melted adhesive, making complete removal highly unlikely.
Different surfaces require distinct expectations and approaches to avoid frustration and potential damage.
| Surface Type | Material Examples | Expected Result |
|---|---|---|
| Non-Porous | Glass, metal, tile | Almost complete removal |
| Porous | Wood, fabric, paper | Partial removal, visible residue |
| Sensitive | Painted walls, plastics | High risk of discoloration |
Adhesive Condition 🔍
Before applying any chemical agent, assessing the state of the adhesive is necessary. The age, thickness, and environmental exposure of the glue impact how the hot melt adhesive remover performs. Older adhesives often become brittle and lose their initial elasticity, requiring more time for the remover to penetrate effectively.
Thick layers of glue block the chemical from reaching the base bonding point. In these situations, removing the top layers mechanically before applying the liquid improves the overall efficiency.
Always score or lightly scratch thick adhesive layers before applying the remover. This creates channels for the liquid to reach the base, significantly reducing the required waiting time.
Combined Methods 🔥
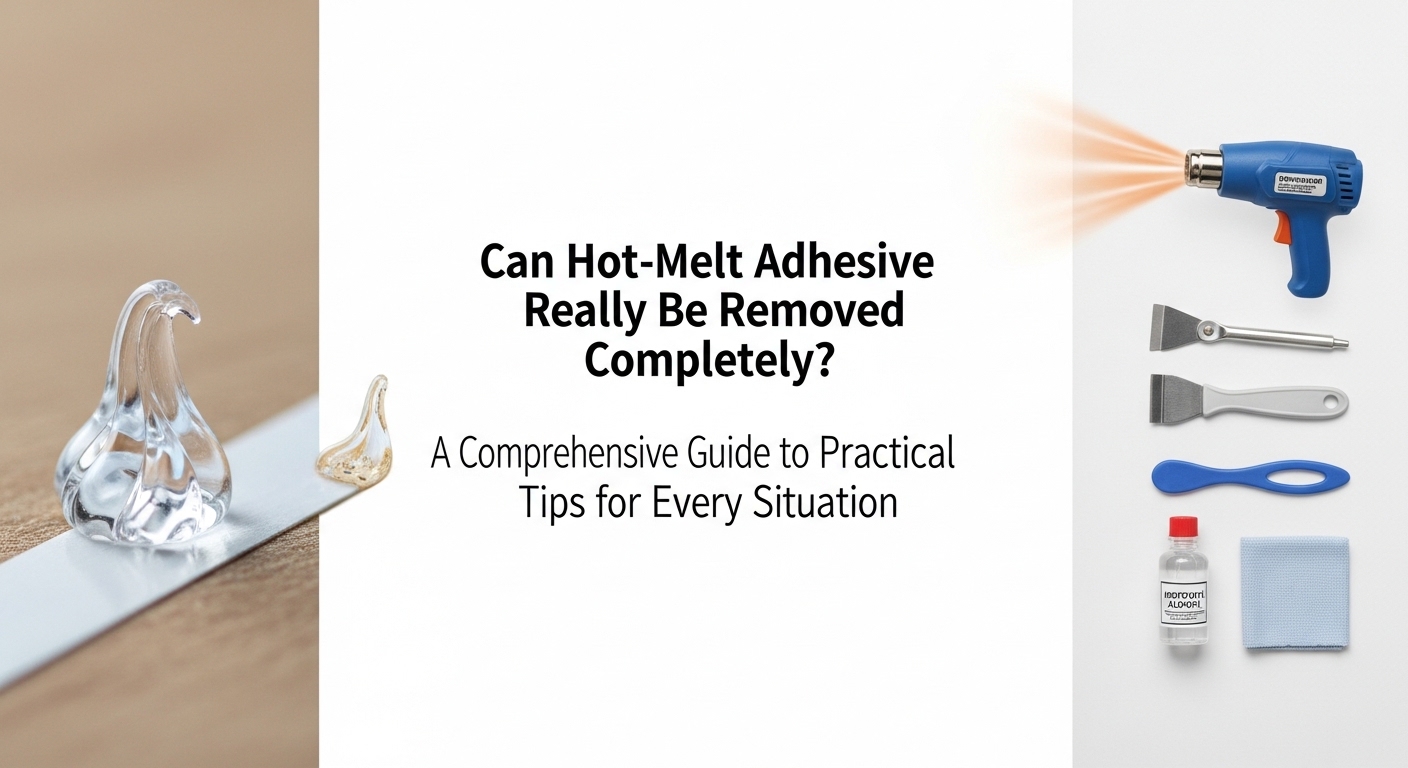
Relying solely on a chemical liquid is often insufficient for complete extraction. Combining the hot melt adhesive remover with physical tools and temperature adjustments yields better outcomes. Applying controlled heat softens the thermoplastic nature of the glue, while cooling agents make it brittle enough to chip away.
Using the right auxiliary tools prevents surface scratching while maximizing the chemical's efficiency.
| Method | Application | Primary Benefit |
|---|---|---|
| Heat Application | Heat gun or hair dryer | Softens stubborn glue layers |
| Plastic Scraper | Gentle physical removal | Prevents surface scratching |
| Isopropyl Alcohol | Final wipe-down | Removes leftover oily residue |
Safety Precautions 🛡️
Chemical agents pose risks to both the user and the applied surface. A hot melt adhesive remover contains active solvents that can strip paint, melt certain plastics, or cause severe discoloration. Conducting a spot test on a small, hidden area is a mandatory step before full application.
Proper ventilation is required when working indoors to avoid inhaling concentrated fumes. Wearing protective gloves prevents skin irritation from prolonged chemical exposure.
Never apply the remover directly onto painted or delicate plastic surfaces without testing first. The active solvents can cause irreversible damage or discoloration within minutes.
Complete Removal 📉
Achieving a flawless surface is not always possible. While a hot melt adhesive remover performs exceptionally well on smooth materials like glass and metal, expectations must be managed for porous items. When dealing with fabrics or untreated wood, the adhesive fibers integrate into the material itself.
In these scenarios, the goal shifts from total elimination to minimizing visible residue. Utilizing final cleaning steps, such as wiping the area with ethanol or soapy water, clears away the residual oil left by the remover, ensuring the surface is as clean as the material constraints allow.